Microsoft Visual Studio 2015
Git Version Control
Version Control Systems like Git are designed to assist software developers merge changes to source code (text files) that have been made by multiple team members. The system also keeps a complete history of all changes made and changes can be undone, or two or more versions of the software (branches) can be developed as alternatives are development paths are explored. It is also useful for working at home and college on the same project.
Most VCS work by mounting a master repository on a web server (such as Bitbucket or GitHub ) so that changes can be submited (pushed) and copies updated (pulled) by any team member over the internet. Visual Studio 2015 has now incorporated Git as an alternative version control system to it's own Team Foundation Server Microsoft's Git Provider uses GitHub as the Git Server, but I find that Bitbucket offers a better service with a better user interface.
Installing Git Extensions (for Windows)
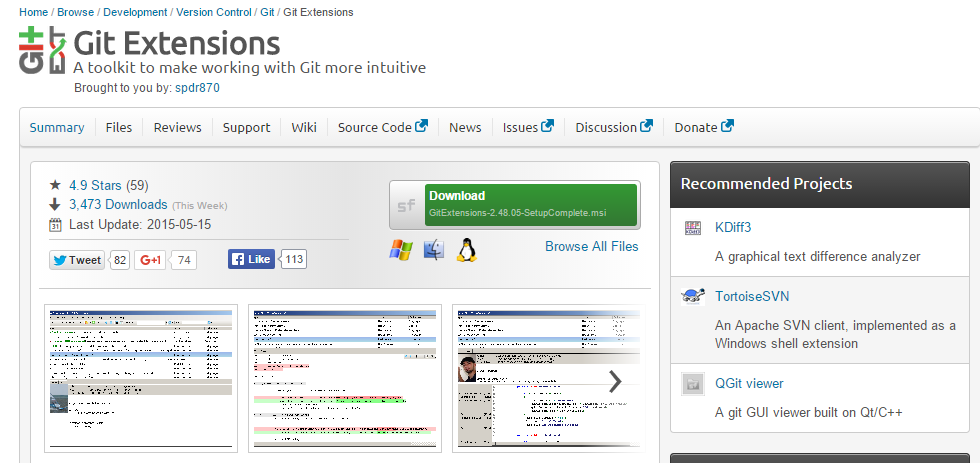
Git works in a distributed fashion so it needs to be installed locally on each PC that uses it. Git Extensions includes Git as well as a GUI interface that integrates into the Windows Explorer. Download it from Sourceforge and Install Git Extensions on your home PC or laptop.
Installing the Git Tools Plugin for Visual Studio
Git Version control is part of Visual Studio 2015 but is linked to GitHub and Microsoft's TeamServer. To use Git more easily a Plugin called Git Tools can be added to Visual Studio using the Extensions and Updates Manager in the Tools menu. Select Online Gallery and type in Git in the search bar. Select and install Git Tools. While you are there, check that Web Essentials has also been installed. You will need to restart Visual Studio after the installation.
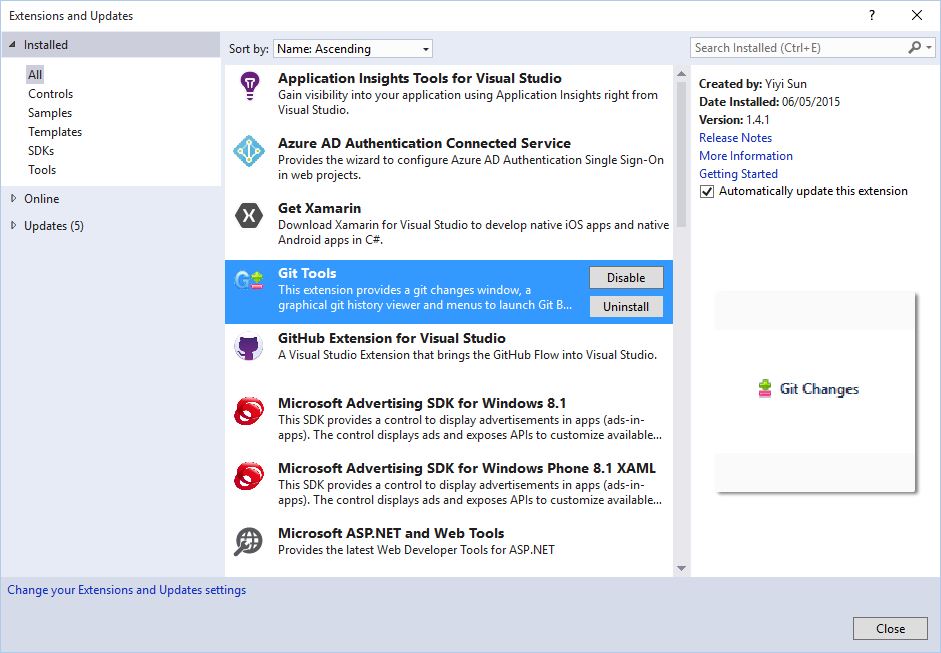
If you would like to view a short video (2 mins) on this process please view Adding Git Tools to Visual Studio
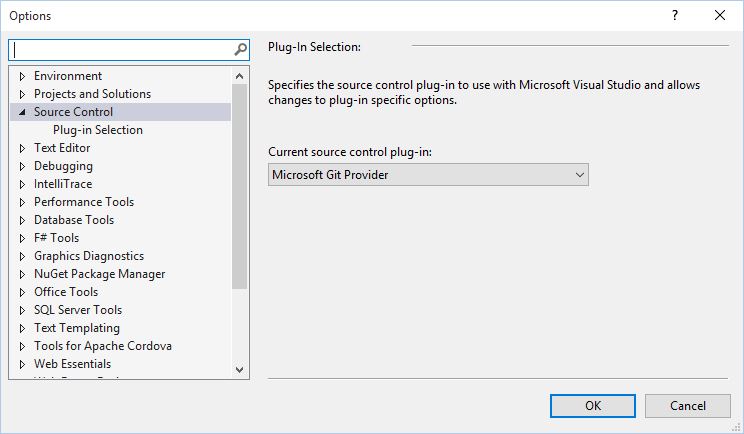
After installation and restarting go to Tools -> Options -> Source Control and select Microsoft Git Provider from the drop down menu.
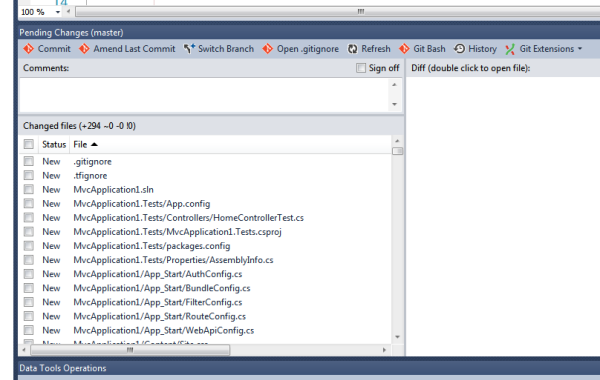
This should provide you access to a Git Tools menu in the menu bar, and extra menu items in the context menus such as right clicking on your project in the solution explorer and selecting Git -> Initialise New Source Repository. You should then see a new Git Pending Changes window (which can be docked). This will show all the pending changes you have made which need to be comitted (saved in the local repository). In this case all the files in the project need adding to the empty local repository, so select them all (by clicking next to status) then click commit. These changes are then added to the local repository.
Remote Git Repositories
Before submiting your changes to a remote server you need to set up a web based repository in a Git server such as those provided free by Bitbucket. You can then share your project with up to 5 team members (if you include me as a team member I will be able to take a copy and help you to debug your code). Signing up with your College email account (e.g. student.oaklands.ac.uk) will provide you access to a full unlimited Bitbucket account worth $200/month. You can add your personal email address once registered by going to manage account and emails.
Tortoise Git
If you want another GUI interface to help using Git then Tortoise Git is available from Google Code and is similar to Tortoise SVN. It can also convert an SVN version controlled project into a Git controlled project. This is an optional extra not availabe in College.